Game-Driven Camera for Avatars
Call liv.render.SetPose(position, rotation, vfov) every frame to control LIV's camera when avatars are being used!
Simply stop calling it to return control to the user's own camera.
Exclude MonoBehaviours
This is for removing unwanted scripts from the cloned MR camera when not using a camera prefab.
By default, we remove the AudioListener, Colliders and SteamVR scripts, as these are not necessary for rendering MR!
The excluded string must match the name of the MonoBehaviour.
Provide Your Own Camera Prefab
By default, LIV uses the HMD camera as a reference for the Mixed Reality camera.
It is cloned and set up as a Mixed Reality camera. This approach works for most apps.
However, some apps can experience issues because of custom MonoBehaviours attached to this camera.
You can use a custom camera prefab for those cases.
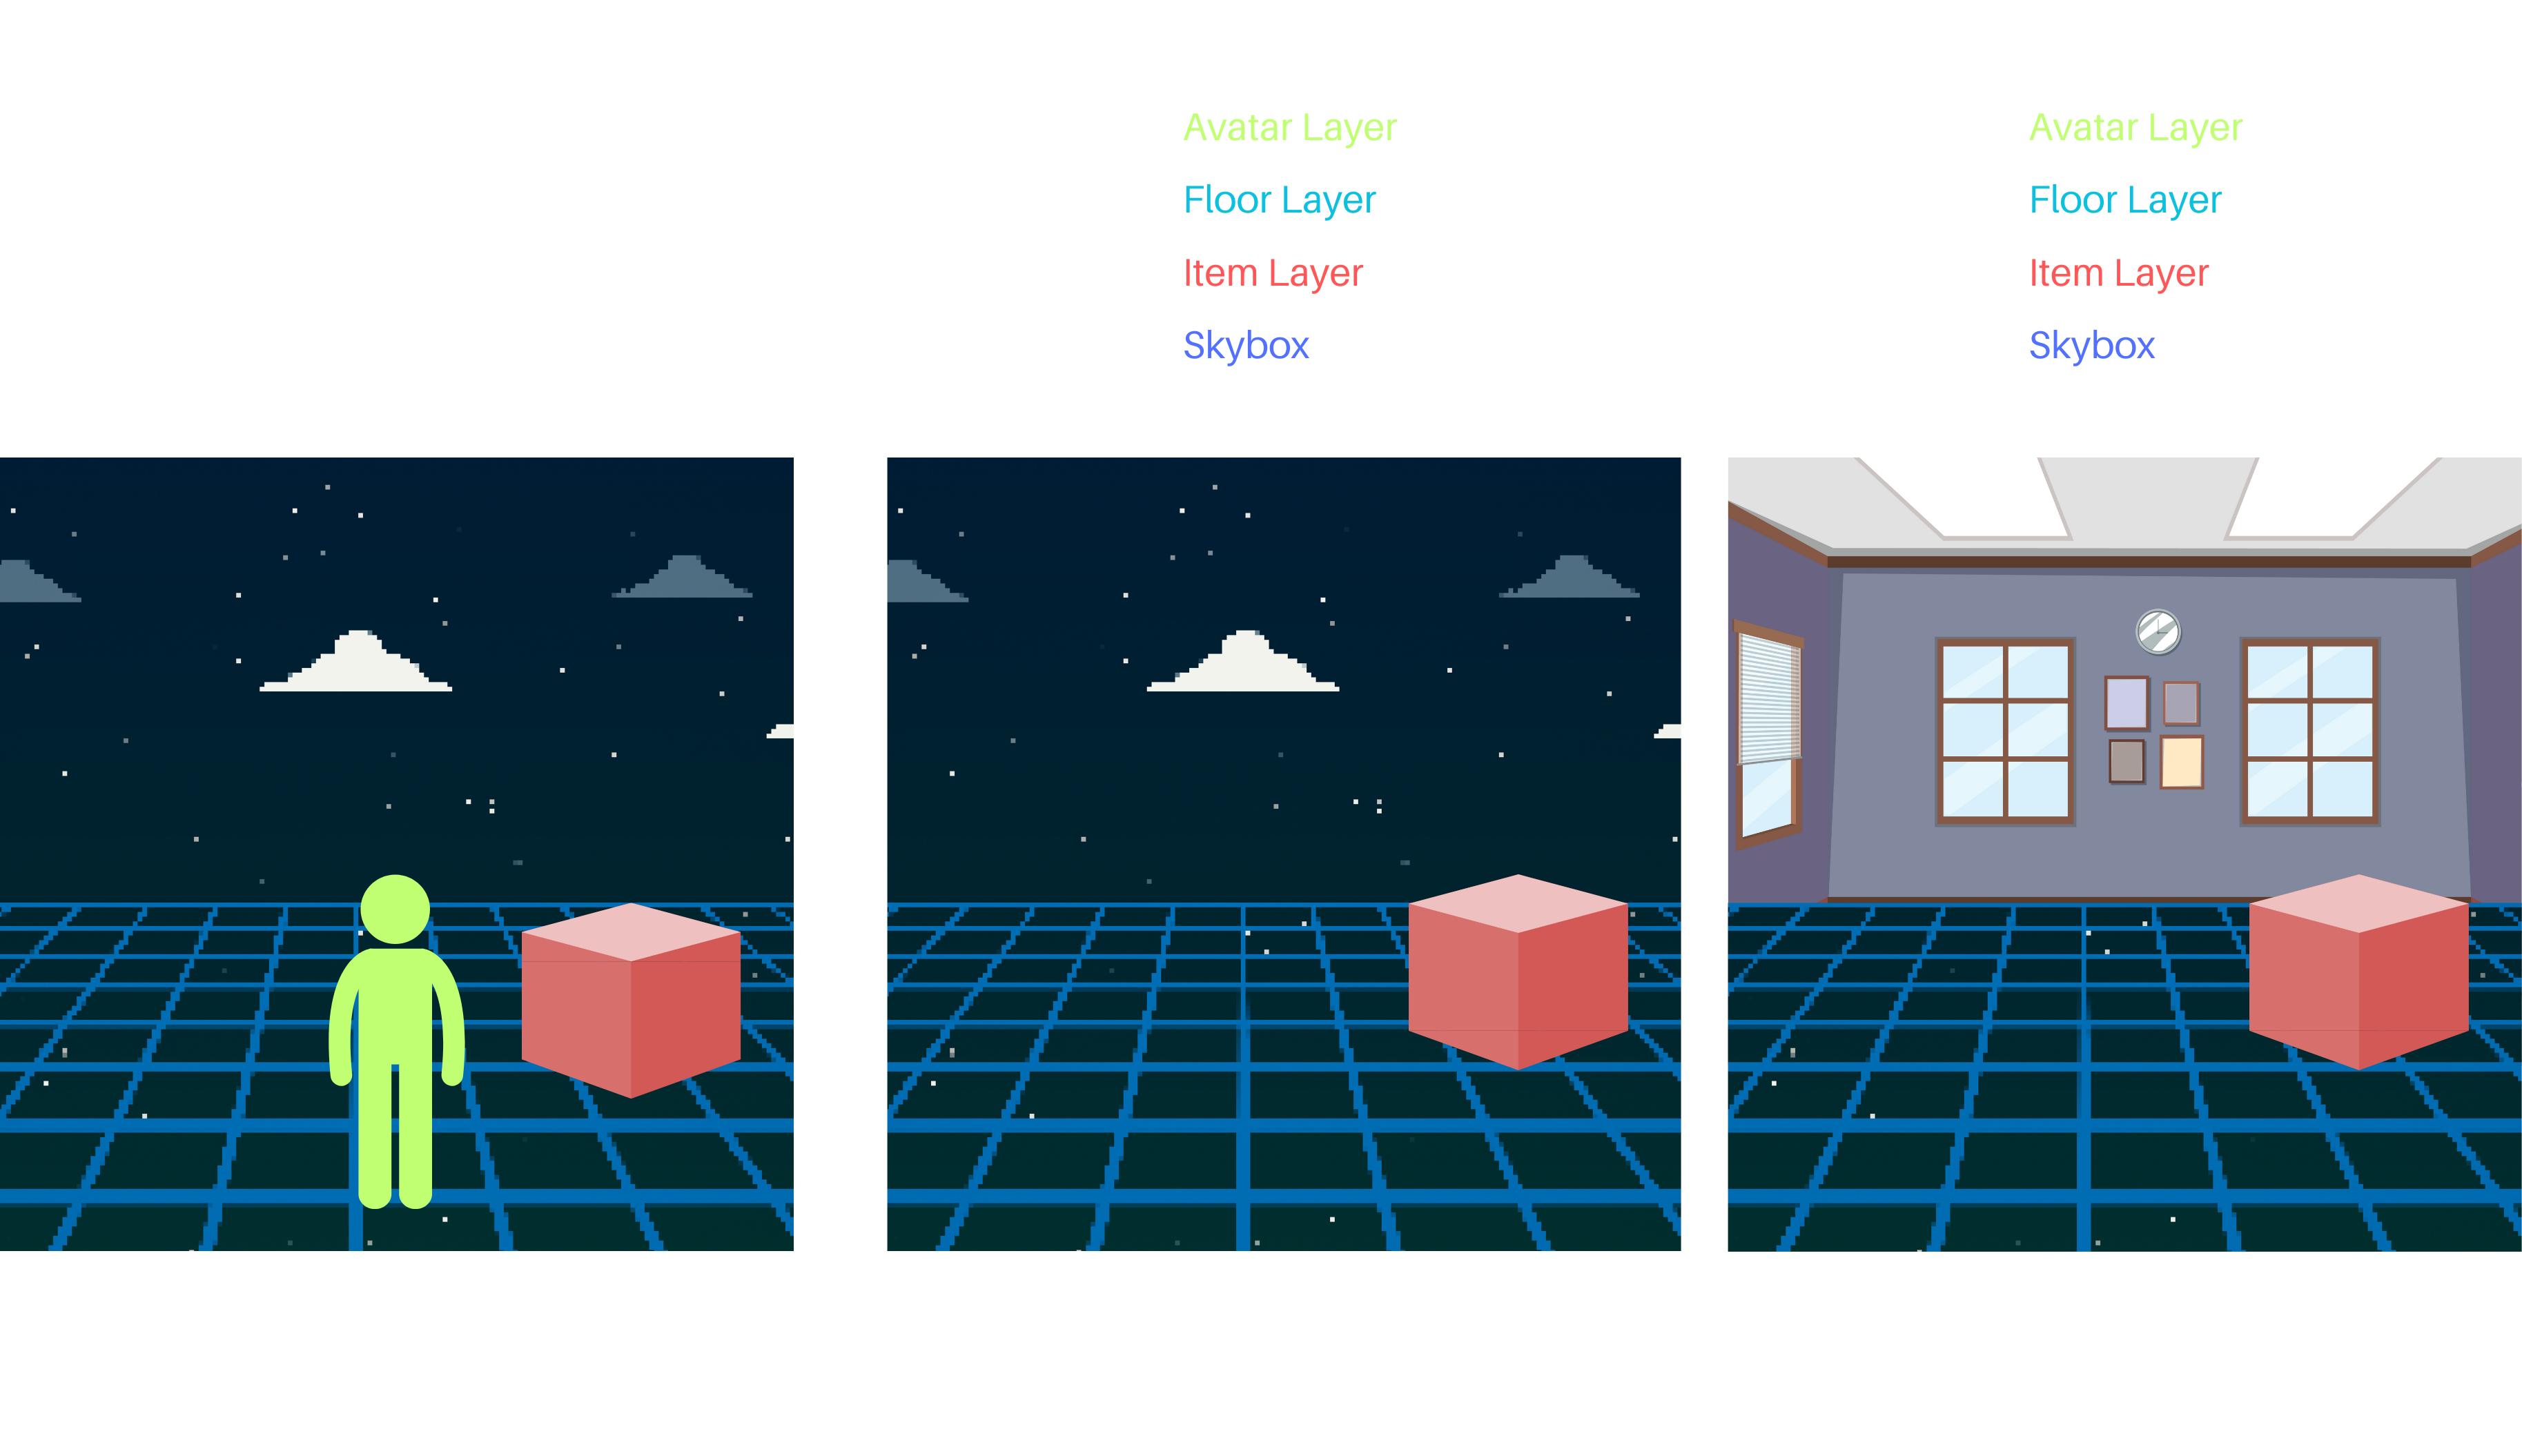
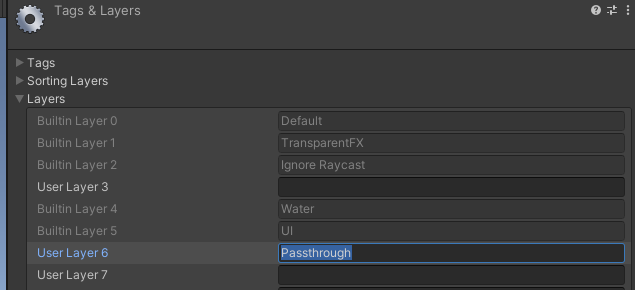
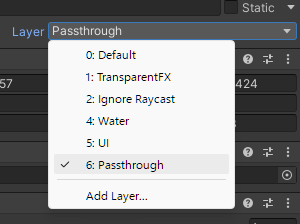
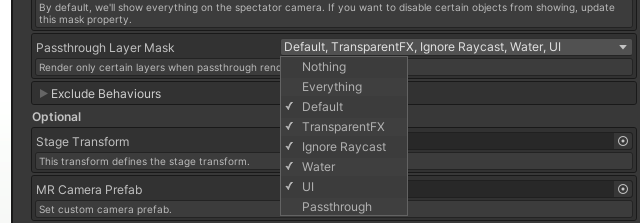
Spectator & Passthrough Layer Mask
The layer mask properties on the LIV component define which layers will be visible to the LIV camera.

By default, the spectator mask is used for the LIV camera.
When passthrough mode is enabled on a device, the passthrough mask will be used instead of the spectator mask.
Hiding Avatars/Hands
You should use these masks to hide in-game avatars from the LIV camera, leaving a space for LIV to composite in the user's body or LIV avatar.
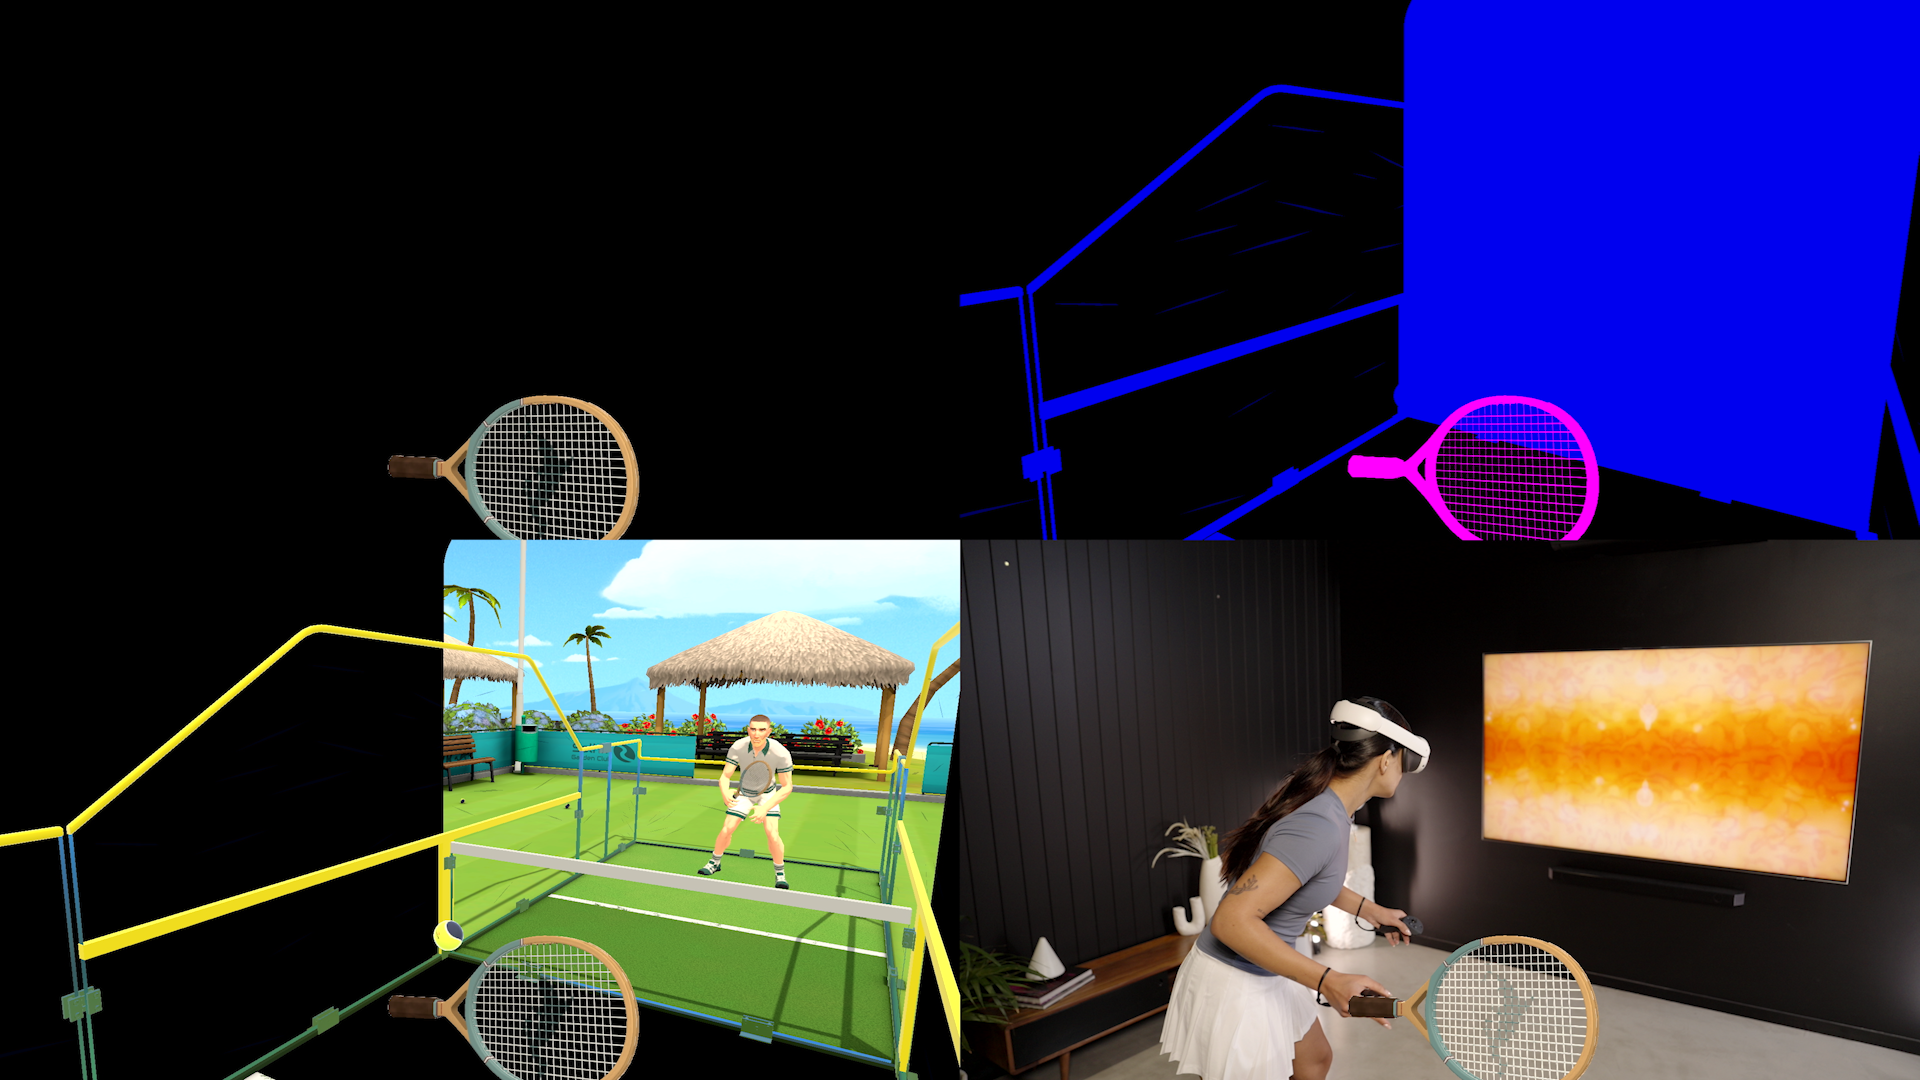
Below is a simplified example setup showing how the two masks work with a VR project.
Additional Uses
- Rendering special affects/UI for the LIV camera only. For example a score or healthbar.
- Hiding HMD-based effects/particles.
Shader Variants
LIV SDK adds MR-specific shader variants.
That means that you can write a specific portion of existing shader to be used only for the mixed reality feed.
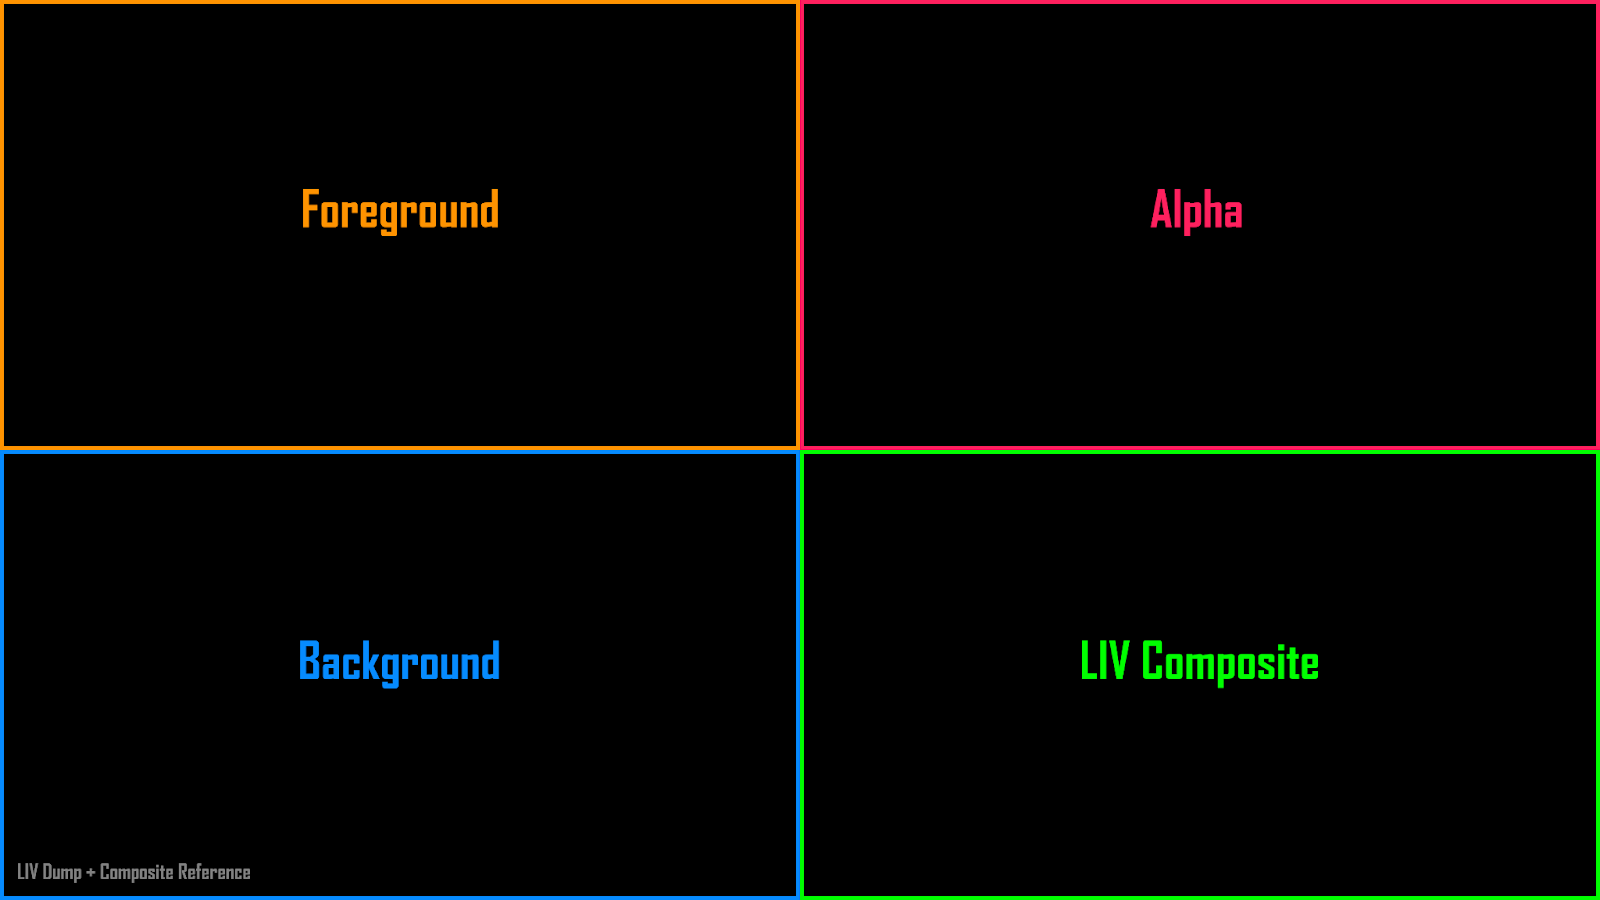
- LIV_MR: Render into background and foreground texture
- LIV_MR_BACKGROUND: Render only in the background texture
- LIV_MR_FOREGROUND: Render only in foreground texture
#if defined(LIV_MR_BACKGROUND)
  col = fixed4(1, 1, 0, 1);
#elif defined(LIV_MR_FOREGROUND)
  col = fixed4(0, 1, 1, 1);
#else
  col = fixed4(0, 0, 1, 1);
#endif
Rendering Events
See the API reference for a list of Actions on the LIV component that can be used for adding custom behaviour to the LIV SDK.
Fix Post-Effects Alpha Channel
If your game is using any post-effects it is possible that the foreground texture alpha channel is corrupted.
By turning on this feature LIV tries to fix this issue by capturing the alpha channel before any post effects are applied and then simply overwriting the final alpha channel output with the captured one.
For Post-Effect Stack v2
- On the Post-Process Layer, enable the
Keep Alpha option.
Disable Standard Assets
This is a property on the LIV component.
Unity’s standard assets can interfere with the alpha channel that LIV needs to composite MR correctly.
This option disables all standard Unity assets for the Mixed Reality rendering.


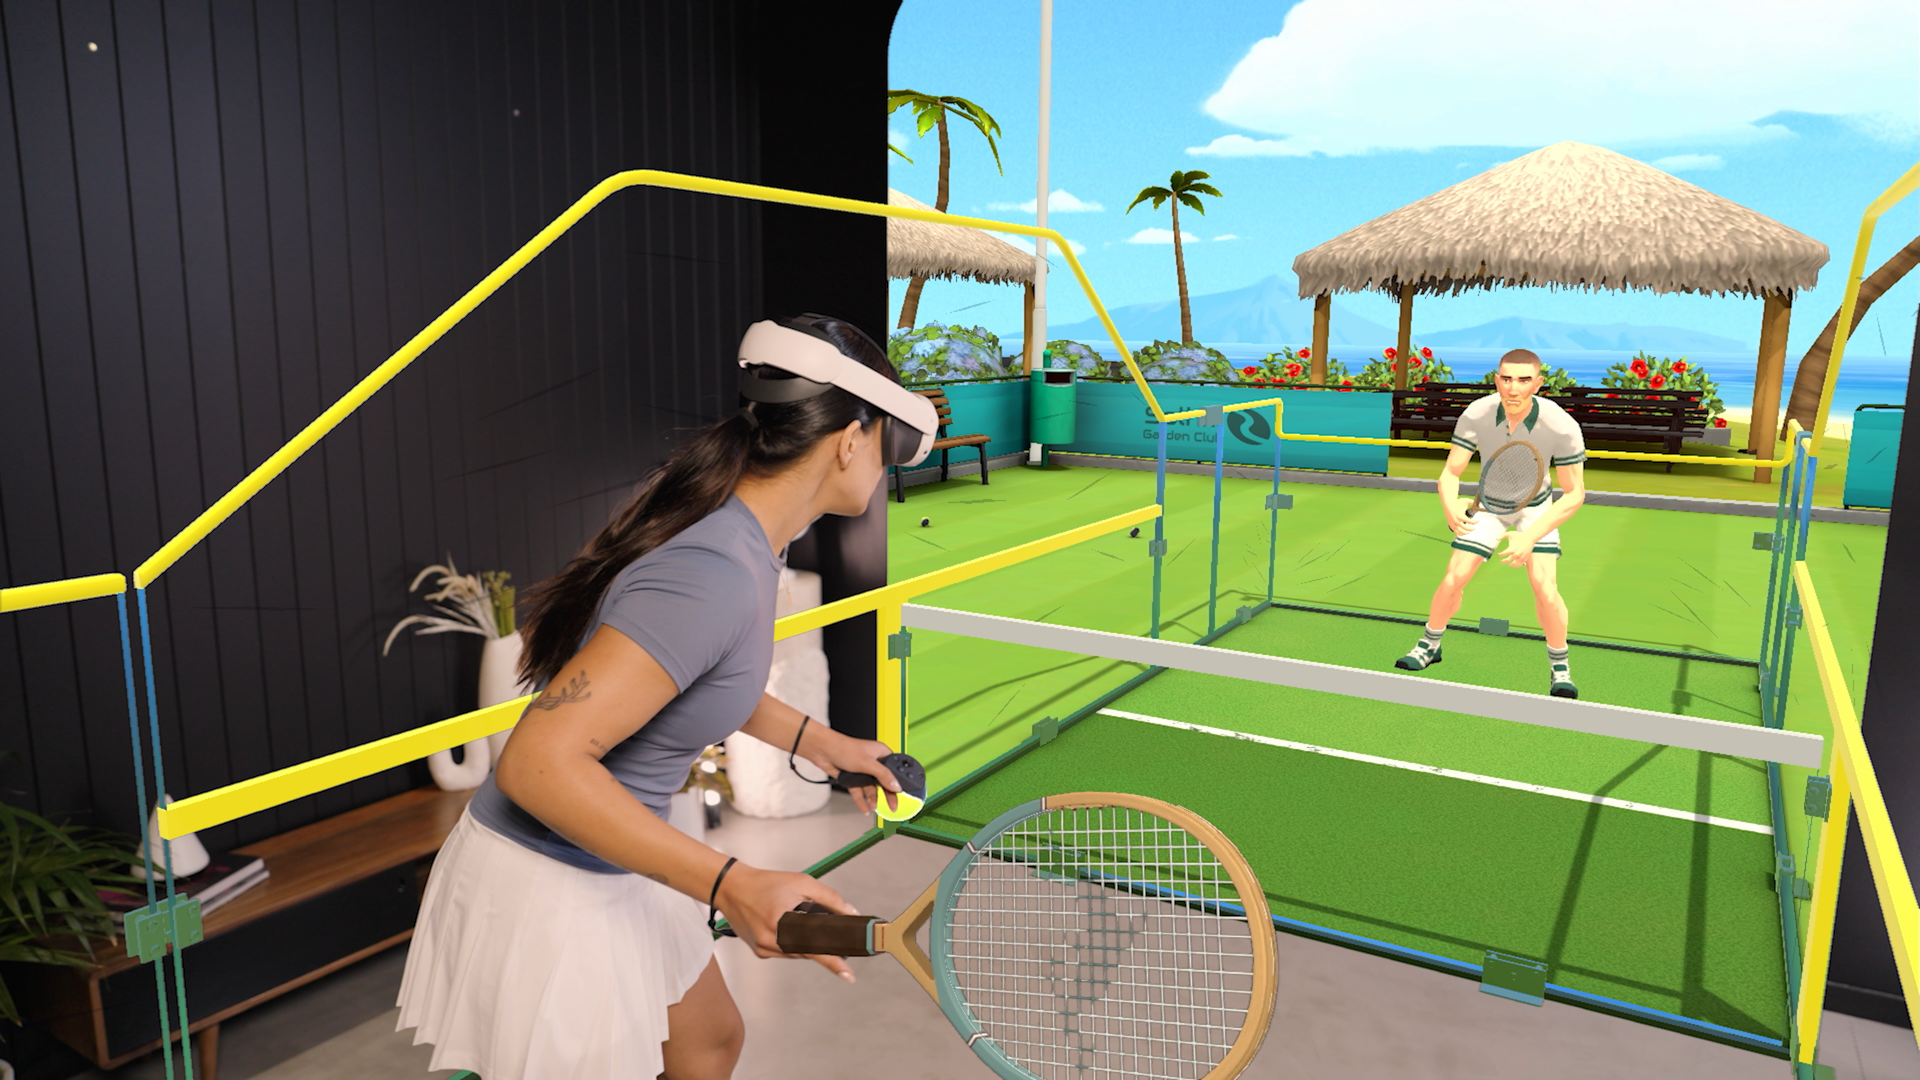


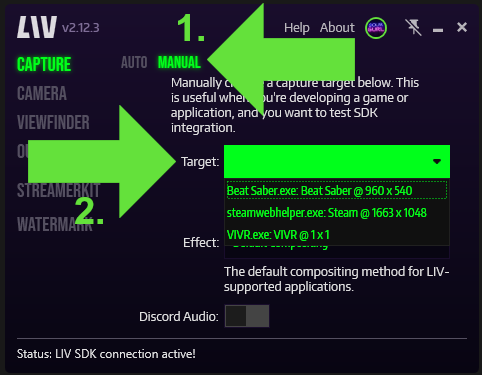
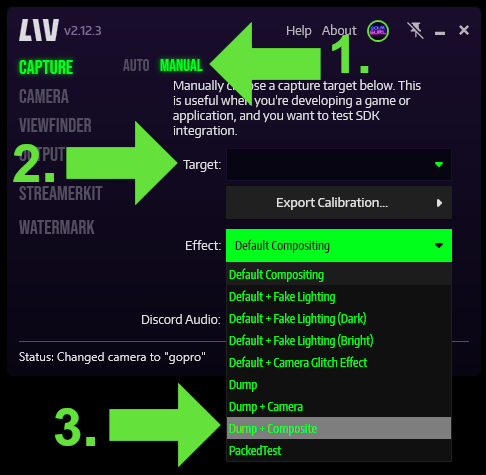
 3. Test MR output with Mixed Reality Capture Mode.